Trashing those ugly battens
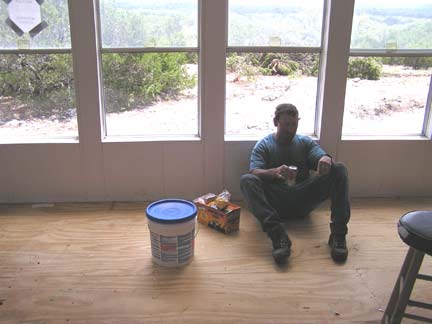
Lunch Break
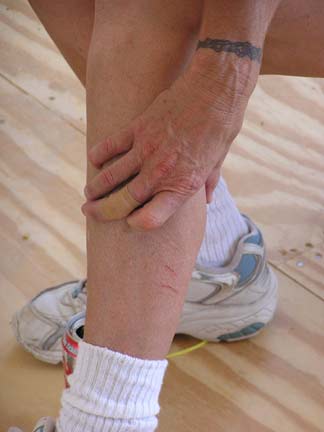
Battle Scars, scraped knuckles and legs
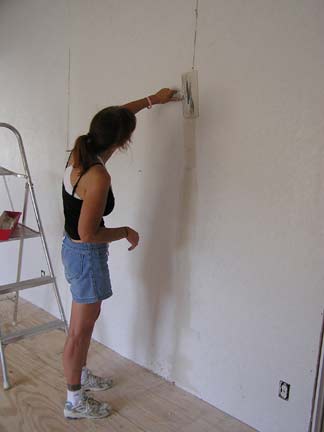
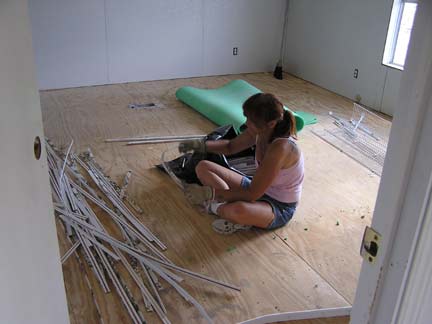
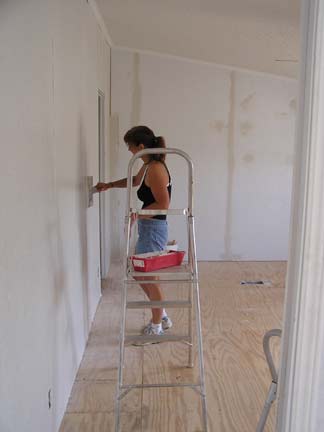
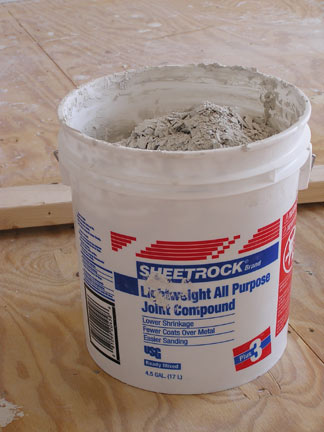
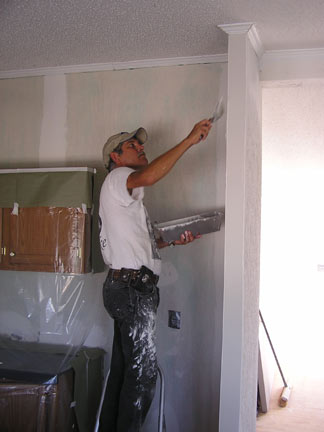
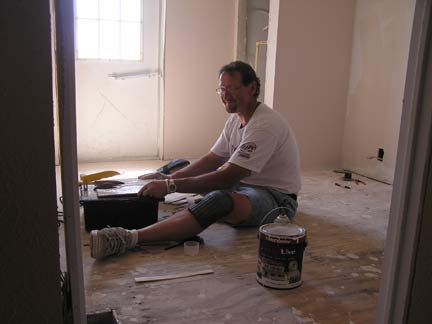
Starting the mud and tape process
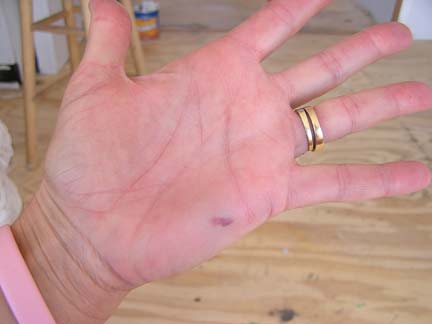
More Battle scars for Bert (can you tell who doesn't wear gloves when they work?)
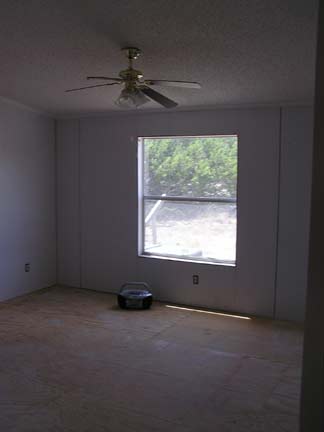
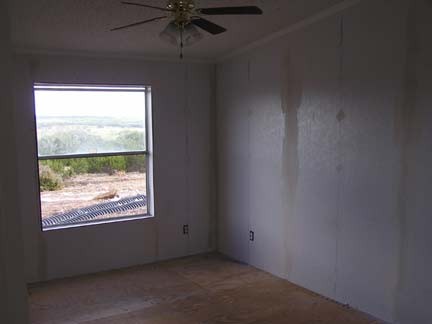
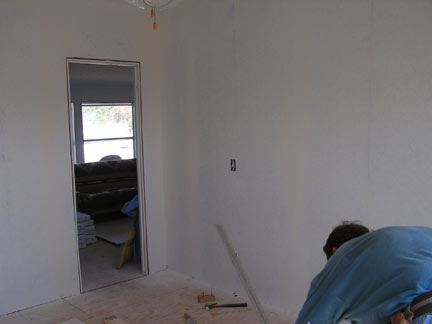
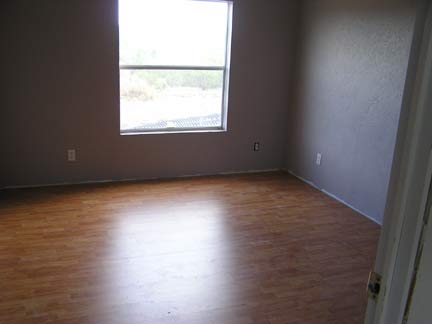
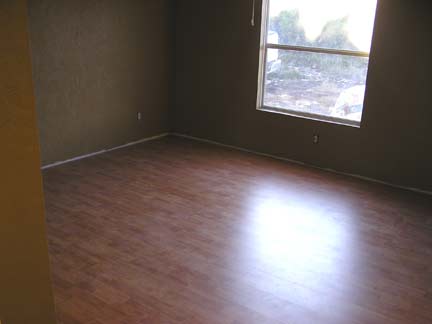
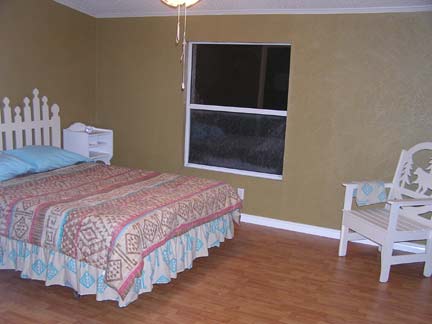
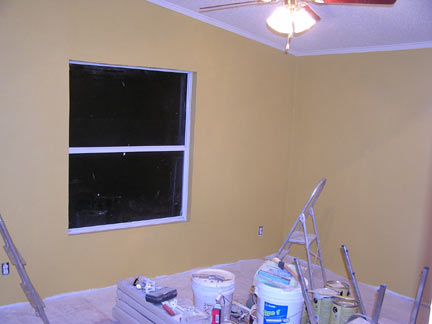
Guest Bedroom
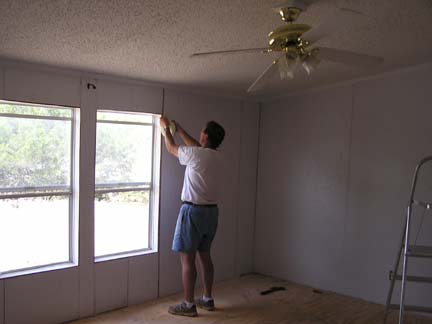
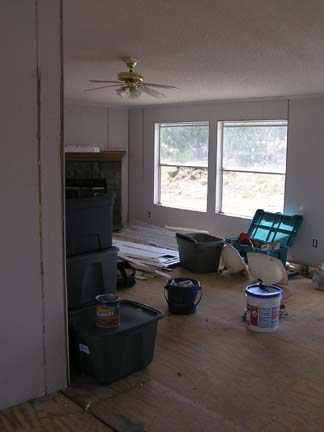
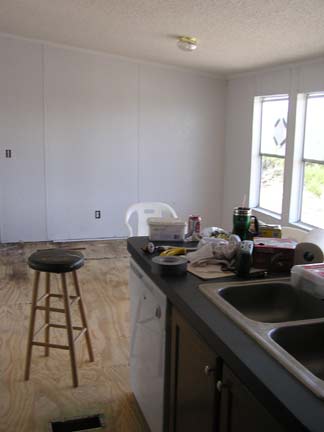
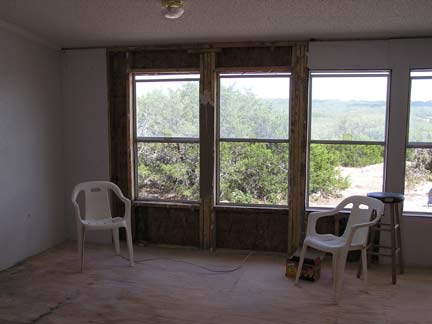
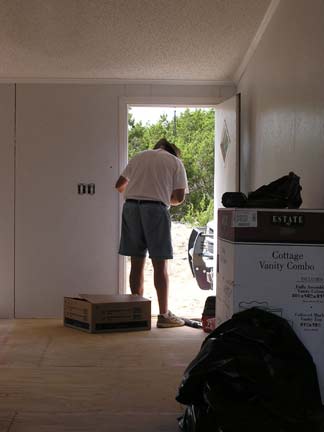
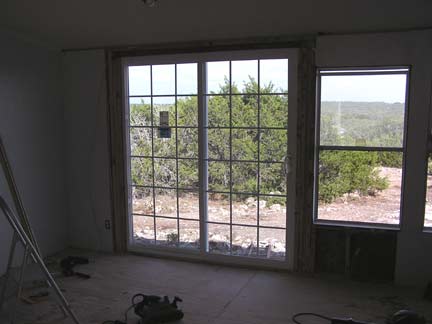
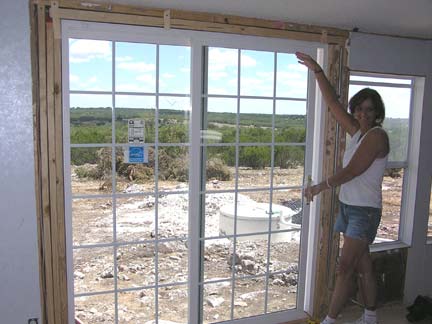
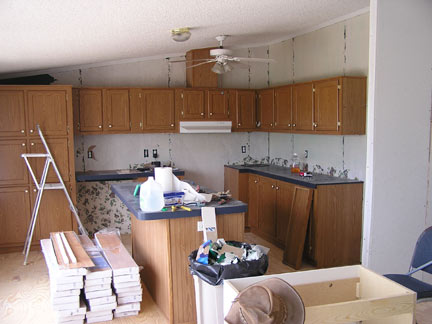
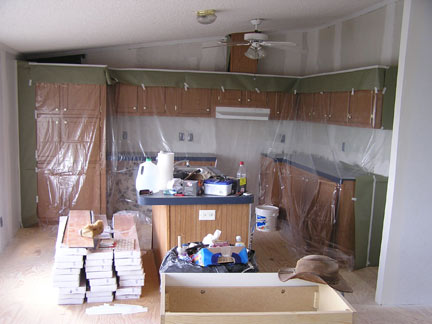
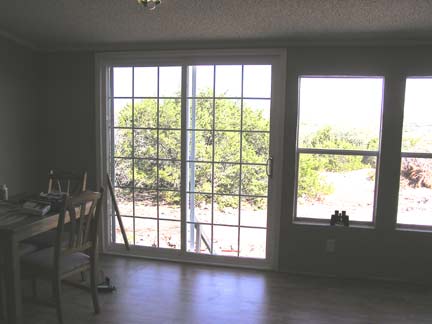
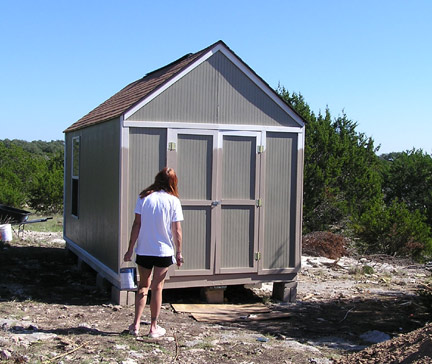
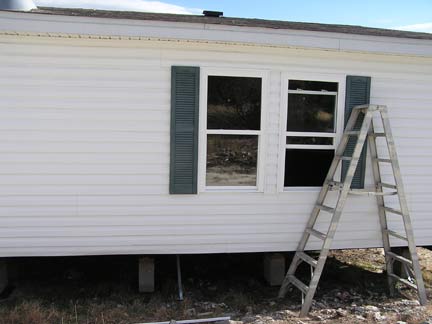
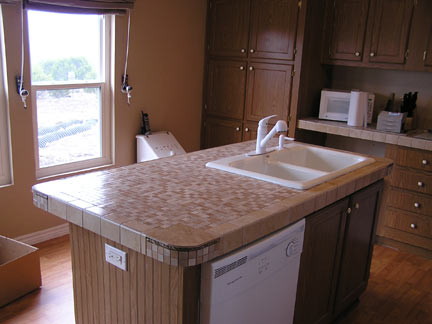
This picture was taken before we took out two of the 5 kitchen windows and replaced them with a sliding door. (The windows are now installed in a new shed).
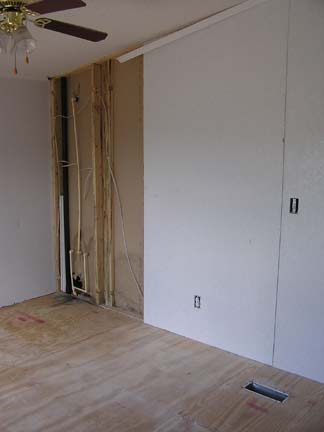
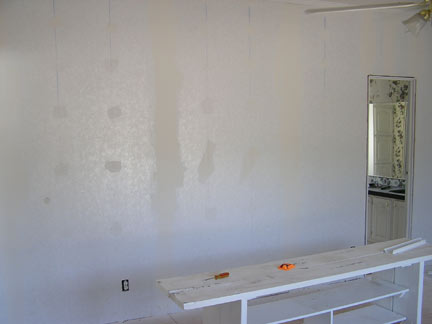
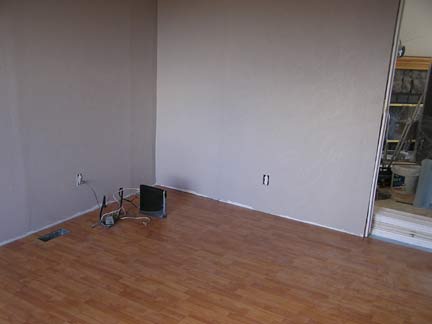
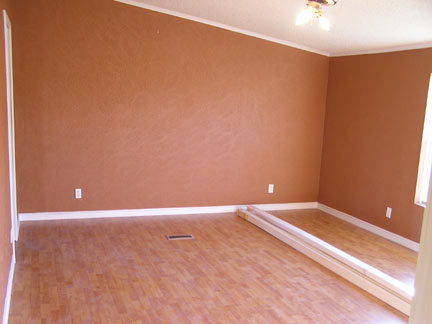
Living Room with the marriage wall mended (somewhat)
We'll put track lighting above the kitchen island.
This light will be replaced and a ceiling fan will be mounted to its left, further towards the center of the house.
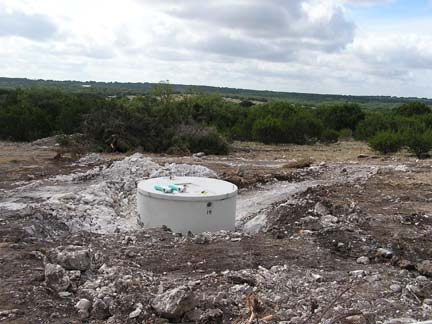
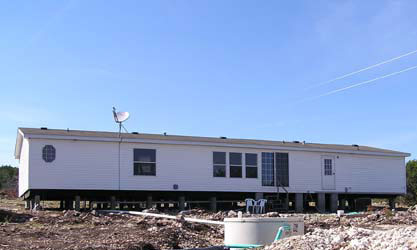
Septic Tank gets installed
This sheet of drywall had to be replaced because of a plumbing leak.
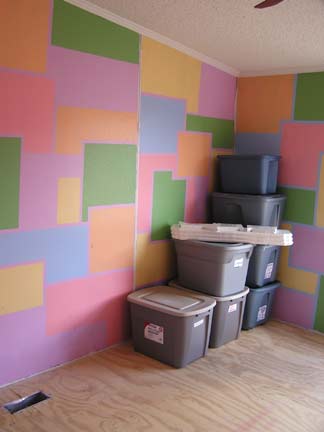
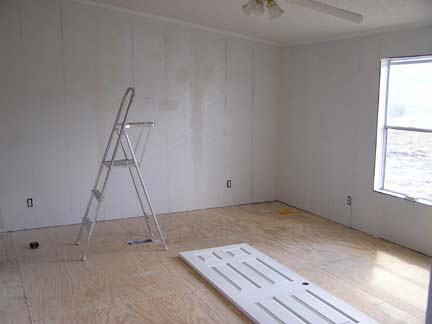
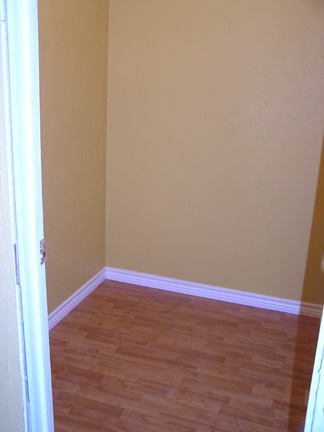
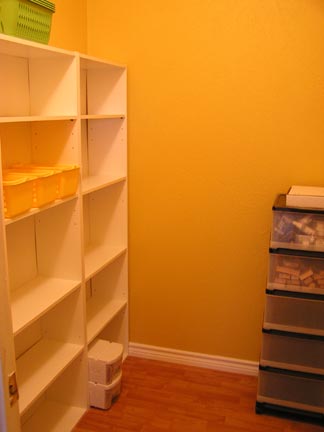
This will be our storage room, the room we will finish last.
The den, after the first coat of mud and tape
The Master Bedroom gets a second coat of mud (there's a new door waiting to be hung).
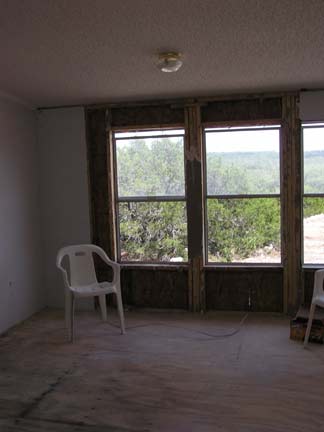
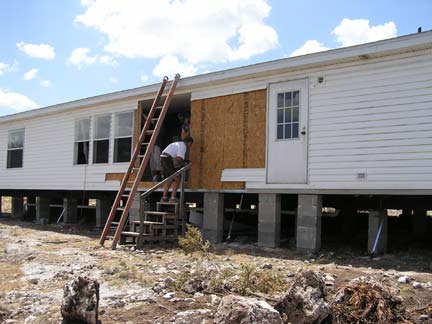
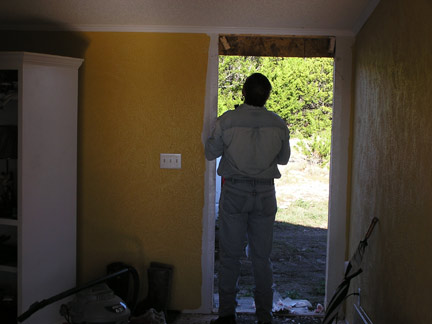
Say goodbye to these two windows.
This is where the patio door will be installed. I'll have to reroute the electrical wire through the header and back down to the next outlet by routering a channel in the 2X4's to the right of the window.
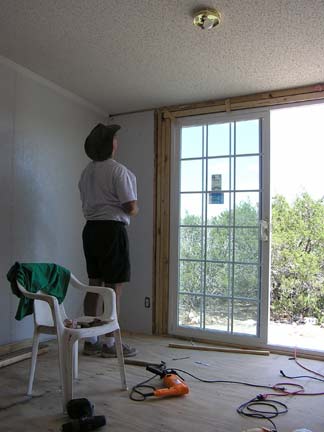
Installing a new deadbolt (what we really need is a new door). Look further down and you will see that installed.

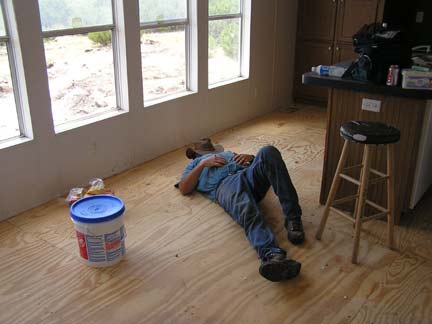
It's hot working without air conditioning!
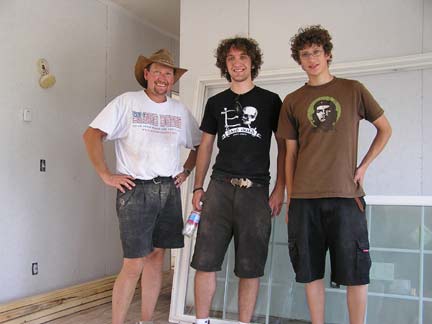
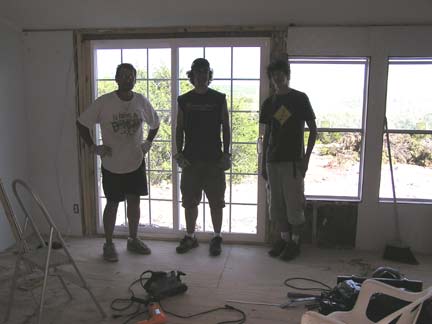
The sliding door gets ready to go in with our helpers "du jour"......once again....short man on the block......no laughing Sam.
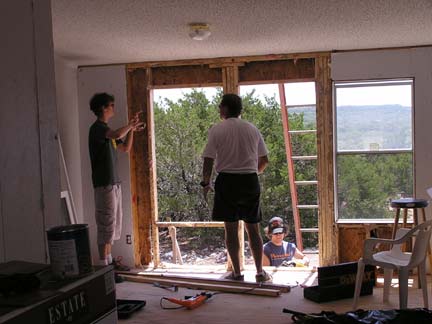
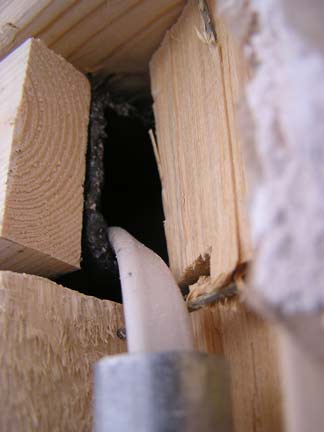
We used some 2" steel square stock that was 3/16" thick as a header and used the interior to thread the electric that we needed to continue down the wall into the kitchen. Since we used a conventional door, the header was too small to go conventional (having 7 1/2' exterior walls). We put the wire in a conduit so we wouldn't screw a drywall anchor into it.
Here is the door before we finished it off with drywall. We glued a piece of 1 X 2 to the metal square stock so we would have something to screw the drywall anchors into.
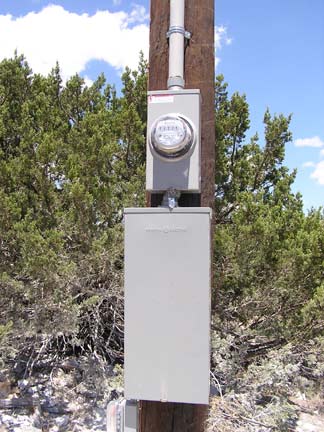
Electricity finally makes it to the site, so we quickly installed a GFI outdoor outlet.
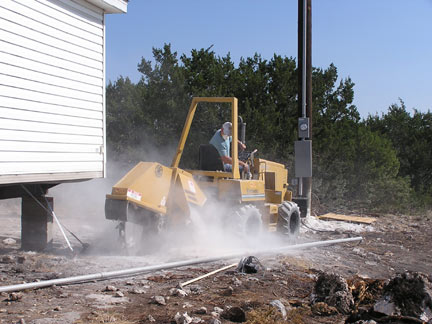
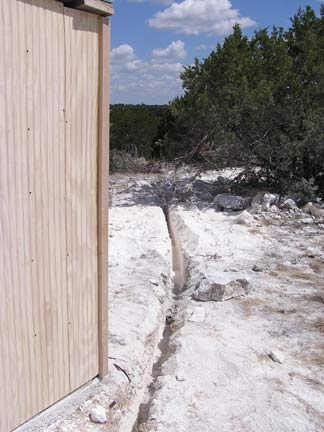
The Rock Saw digs a trench for the power line to the home.
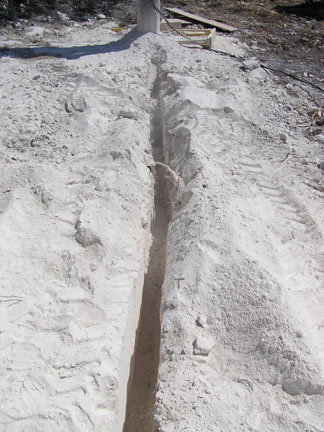
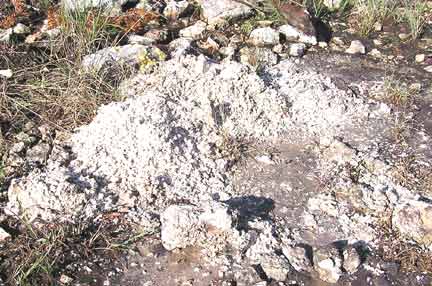
This is the trench from the rock saw. Not much topsoil getting in the way! The white stuff is all powdered rock.
This is what a textured wall looks like after you decide that you don't like it and you scrape it back off of the wall.
The den is ready for wall texturing.
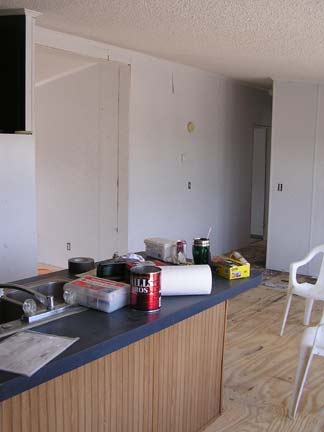
Here's the kitchen after scraping off most of the dark green paint.
Some more lunch guests.
Master Bedroom ready for texture.
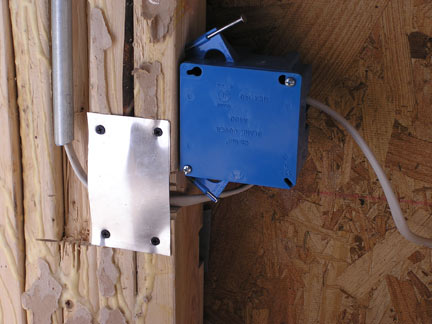
A little metal protects some exposed electrical wires.

The Drywall Queen
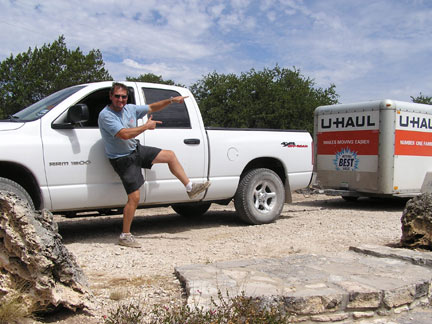
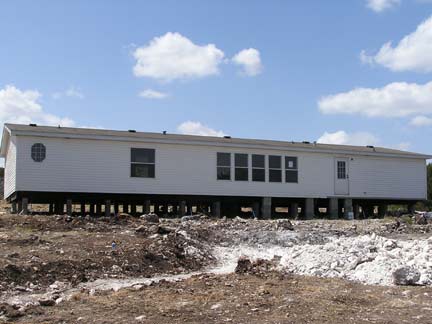
Leaving the ranch and heading for the new home (exit, stage right).

No break from the heat and still a week away from air conditioning.
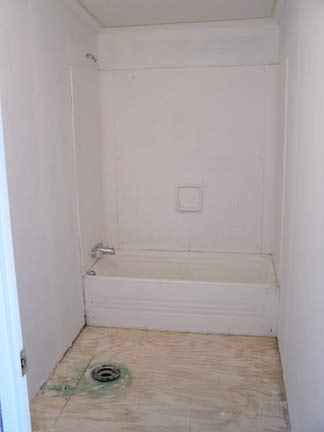
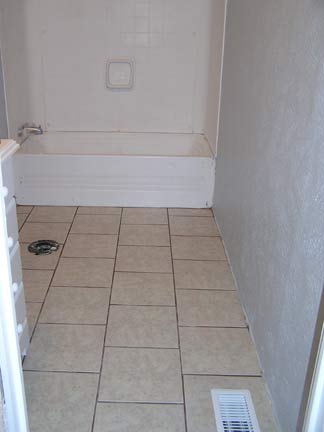
Guest Bath Ready for Texture
Kitchen Ready for Texture
Another rock trench gets sawed in the rock to deliver water to the home (next to the pump house)
Due to time constraints we solicited some help with the drywall.
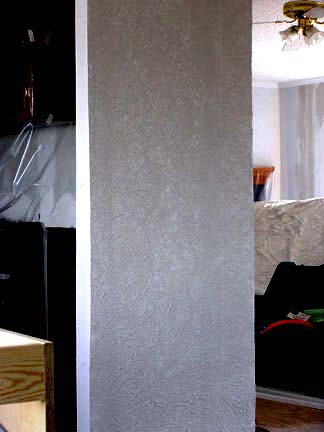
What the textured wall looks like.
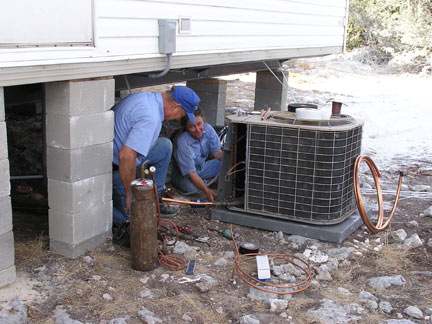
The AC finally gets connected.
Working the tile saw...oh what fun!
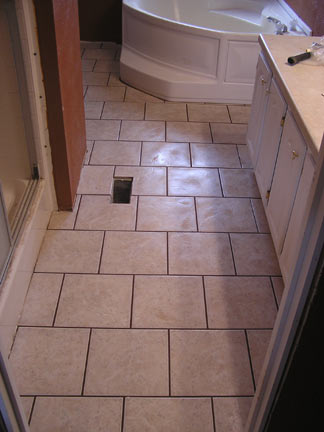
Tiled bath ready for grout....it's really not pink, it just looks that way! The paint was supposed to be a beige color like the tile.
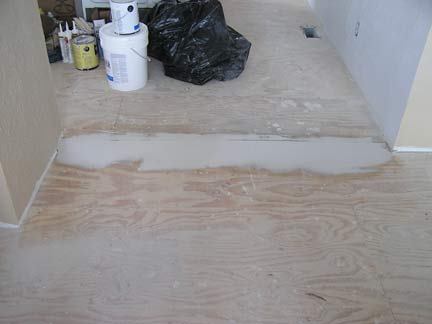
We put some thinset on the marriage seams to smooth the transition between areas.

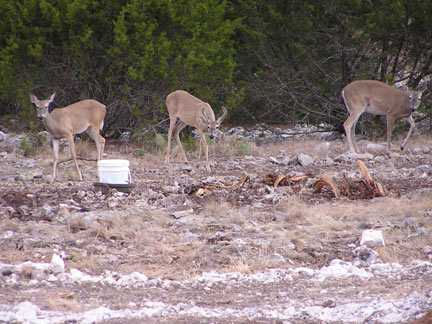
Some bucks have their banquet
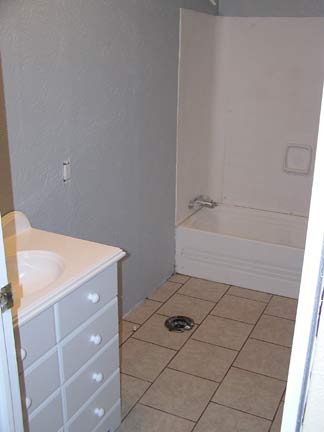
Guest Bath after a new coat of grey paint

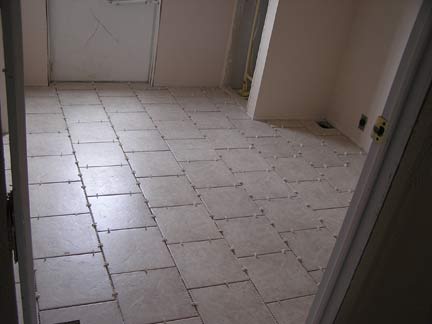
Kitchen floor gets installed

Not a big rack but he has 13 points
This is what happens when you drop your can of glue down the shitter.
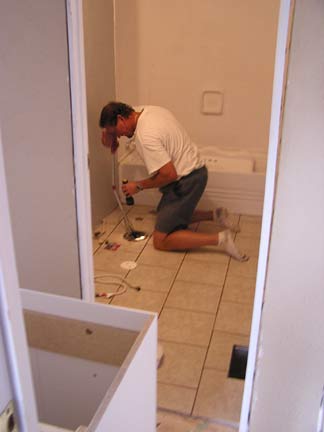
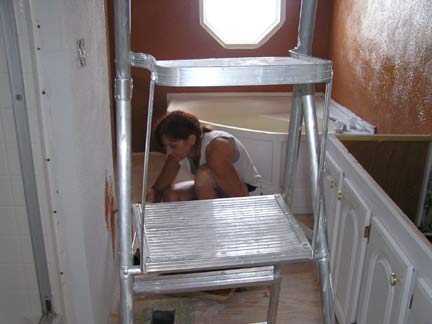
Thanks to Bert and her small hands that could reach the can of glue, the toilet and sink gets installed. I wouldn't shake her hand right away.
The office floor gets laid
Floor trim is getting painted tomorrow
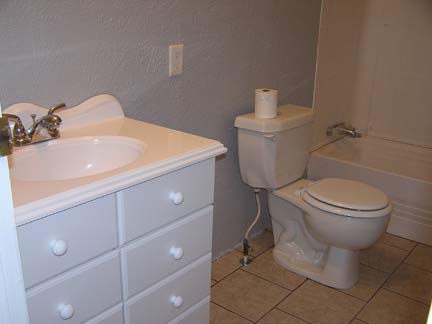
Master bath getting paint and waiting for a new counter top.
The 400 square foot rental we were staying in
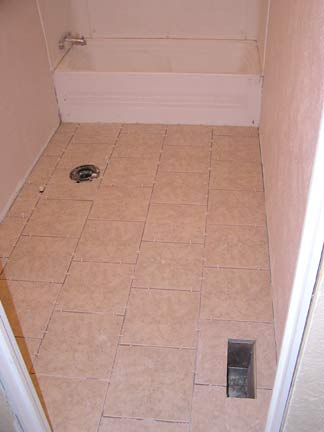
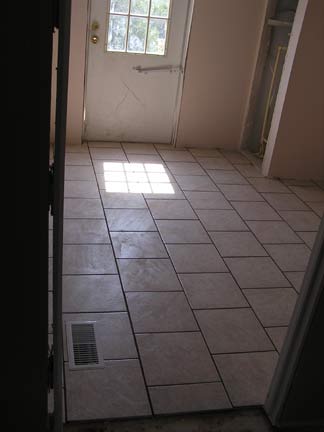
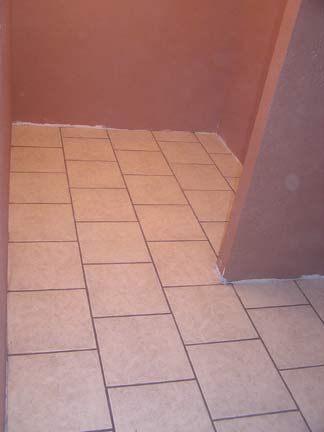
The Laundry Room gets its tile laid.
The Laundry Room gets its grout.
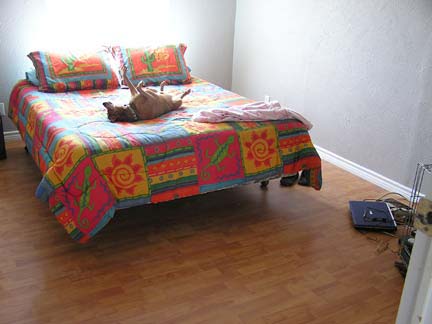
The office becomes a temporary bedroom after the finish trim is installed.
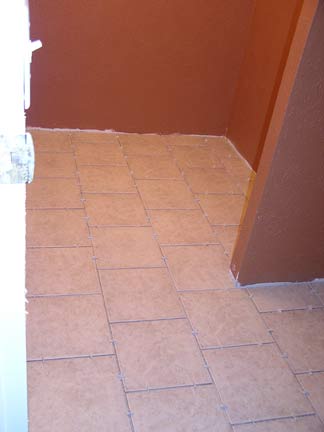
The Master Bedroom Closet gets its tile
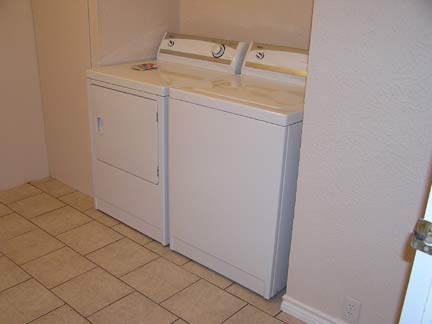
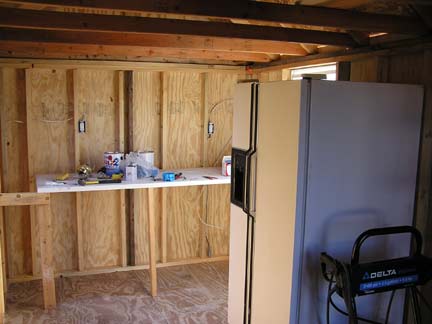
The washer and dryer get installed, we'll put the freezer in after I finish the wiring (you can see the outlet, but it's not hot yet).
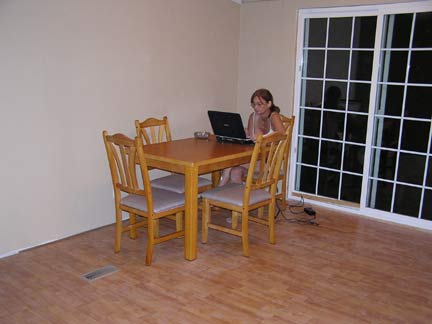
The Kitchen finally gets a table ( and the WIFI is working too).
Master Bath Closet gets grouted
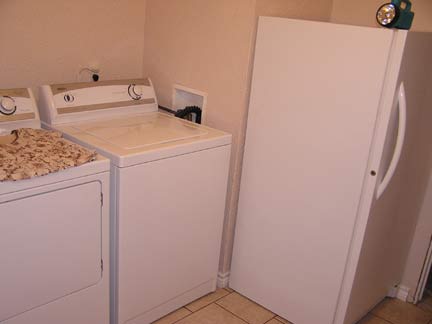
The freezer gets wired and installed.
The guest Bedroom gets its floor
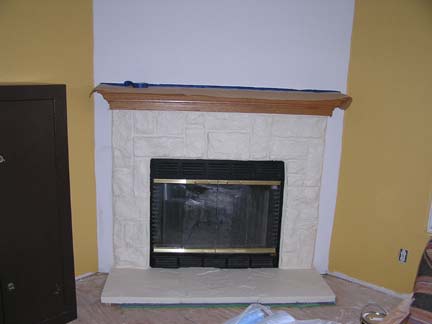
The stone on the fireplace gets painted.
The patio Door gets trimmed out
The patio door gets finished on the outside as well. Notice that we have satellite internet but no telephone or television yet.
The Guest Bedroom is ready for tenants!
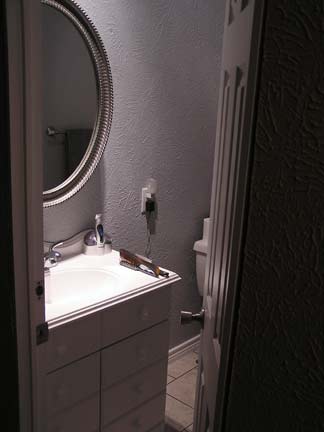
The guest bath gets a mirror/medicine cabinet and a door. Other than filling in the old door latch hole and the door trim, we're pretty much done here.
We took time out one day to replace a faulty element in the water heater. It died because of all the built up scale and lime deposits in the bottom of the tank. We vacuumed them out with a hose attached to a shop vac.
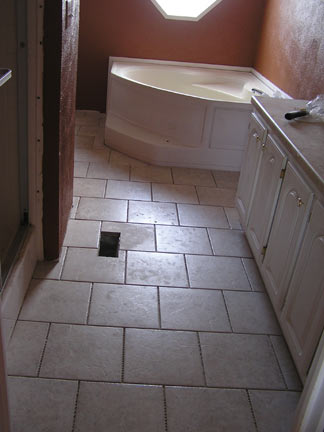
Master Bath get tiled (waiting for grout)
Master Bath gets its grout
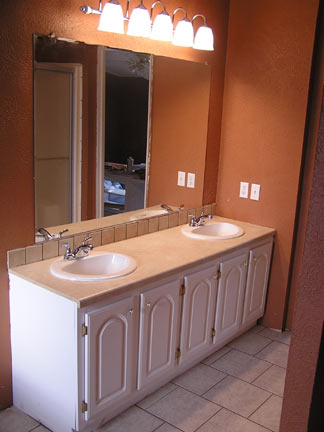
The Master bath sinks and backsplash get installed
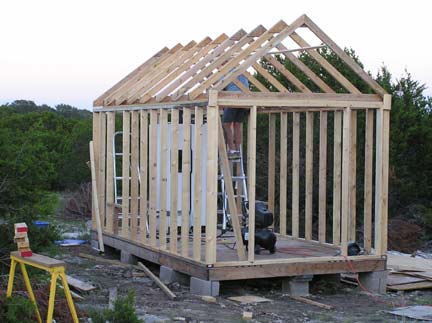
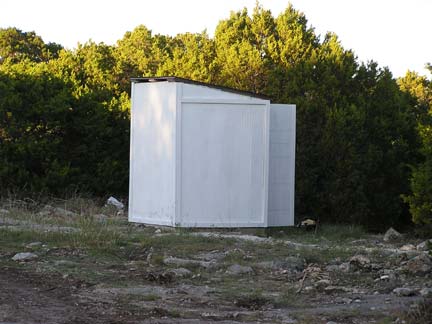
We're running out of space for "junk" in the house so the storage building is the next project. Fortunately, I had made the trusses before we moved out here and that helped speed things along considerably.
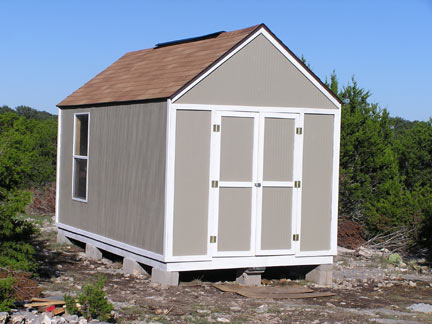
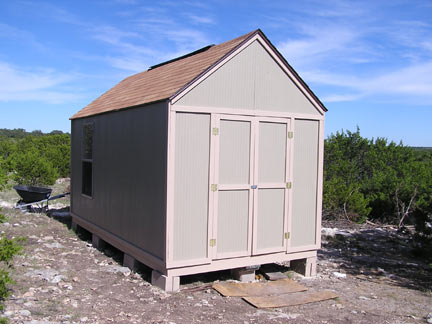
Getting closer to being done. Just needs some trim paint. Notice how we used the windows that came out of the kitchen. It's all wired with lights and outlets.
The Master Bedroom gets its flooring and molding.

Our first Axis buck shows up for breakfast. He's busted up, so there must be a bigger, badder one out there.

Our first Axis doe was soon to follow.

Enjoying a cigar on the ride home.
Inside the shed, still more work to do here.
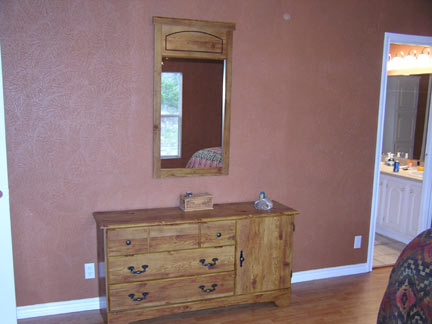
Master Bedroom
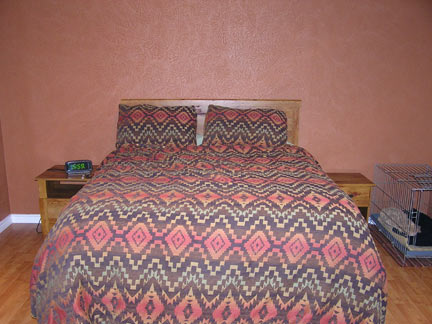
Master Bedroom
OK, so I got the Front Door out, now what do I do?
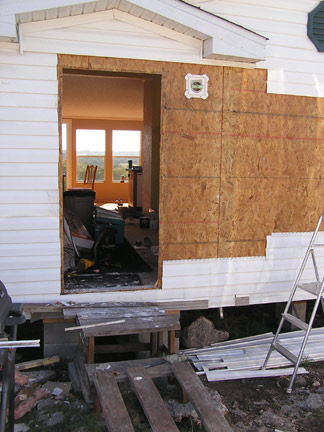
I see, I cut the hole a little bigger for the new door.
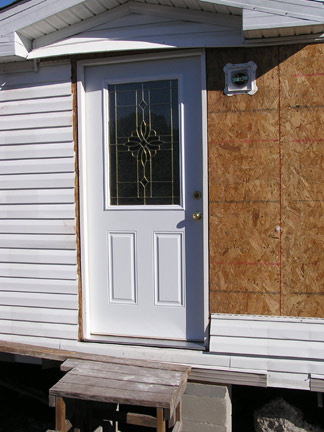
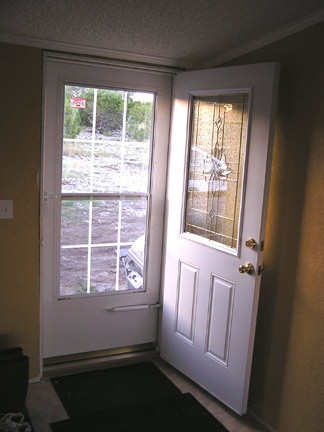
Then I put in the new door... it's soooo easy!
Not!
Just need to trim it out.
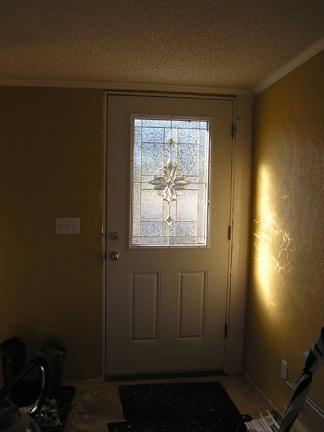
If I could reach higher, I'd finish the trim paint.
The storm door gets installed
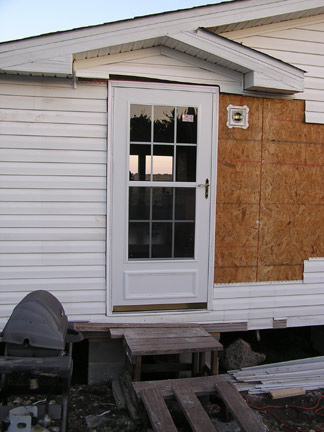
Still need some J-Channel to put the siding back up.
Shed gets finish paint, on to the next project.
Pump house gets primed and a door added
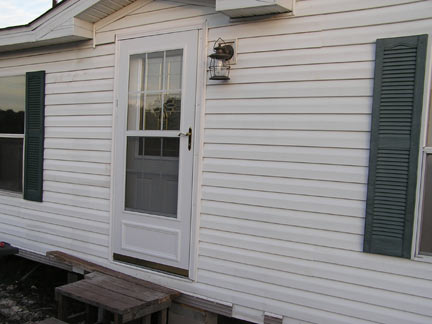
With the front door and storm door installed, the siding goes back up and a new porch light gets installed.
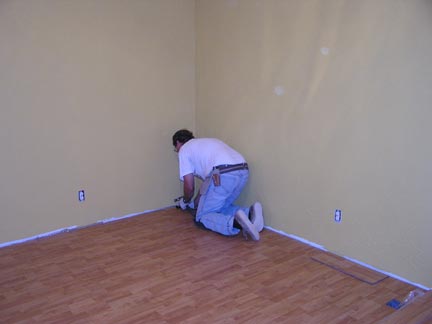
The future scrapbooking creative laboratory gets a coat of paint.
The scrapbook closet is ready to be loaded up with toys.
Toys are arriving
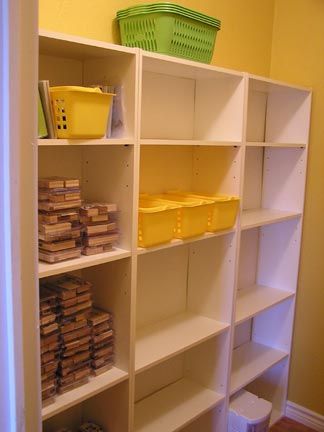
More toys, but fear not, there will be no unused space!
The scrapbook room gets its final piece of flooring
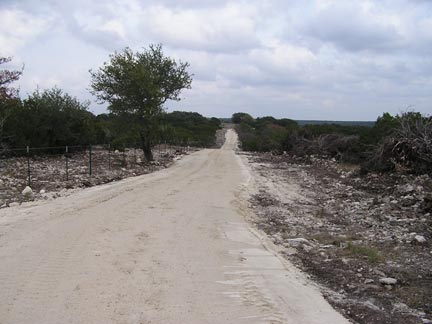
A whole lot of dollars later, a road finally gets installed.
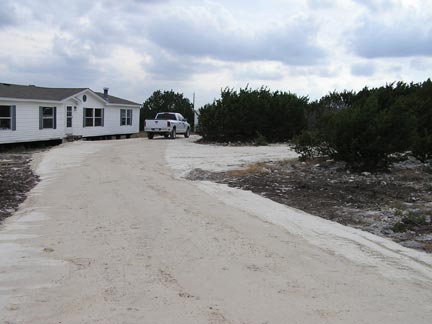
Finally, a tooth jarring experience comes to an end.
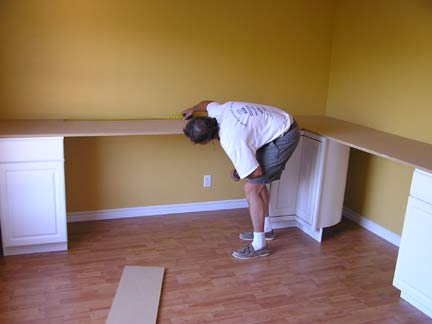
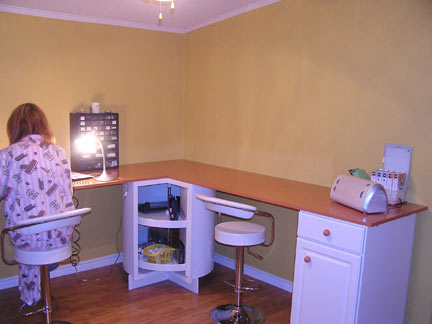
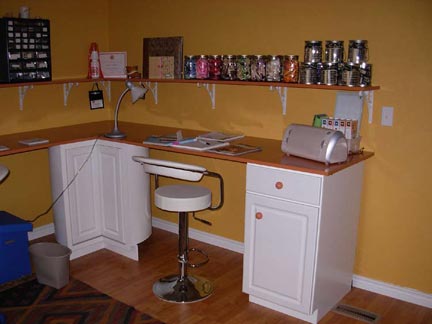
The scrapbook room desk gets started
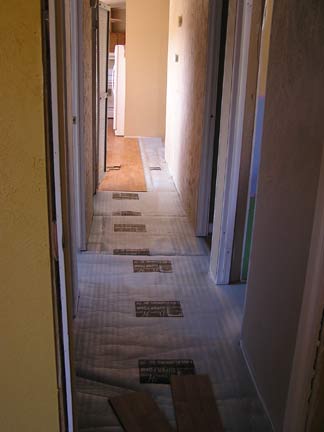
Getting ready to lay the hallway floor.
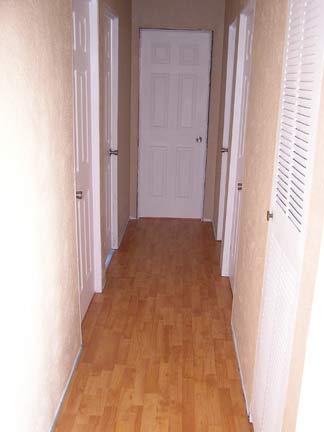
Hallway after the flooring is laid and the doors hung. Still needs floor and door trim.
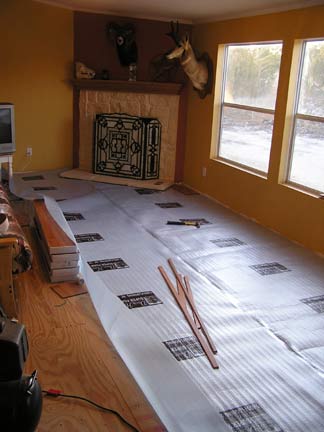
Living Room getting ready for flooring.
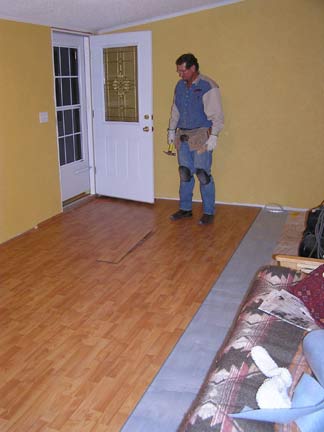
Half way there.
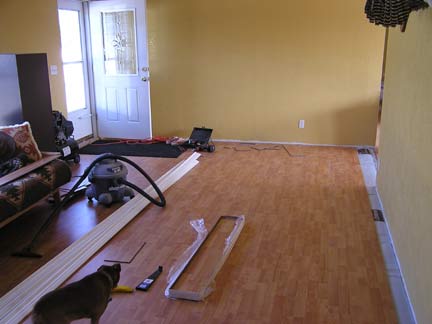
Almost done.
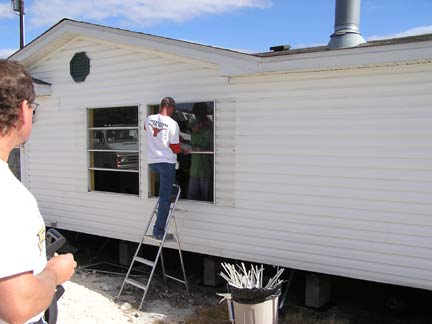
Old windows going out. Why would you ever put single pane glass windows in a home?
New windows going in. Thermal windows will pay for themselves.

Living Room almost done, still need a new couch, rug and entertainment center.
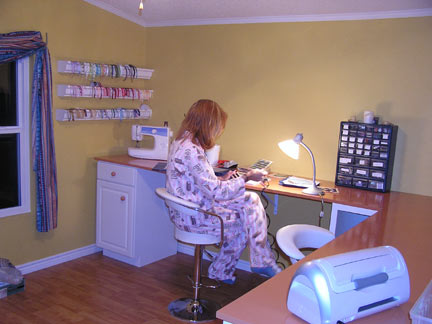
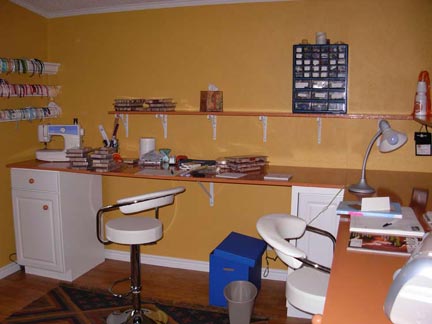
The creative lab is almost done
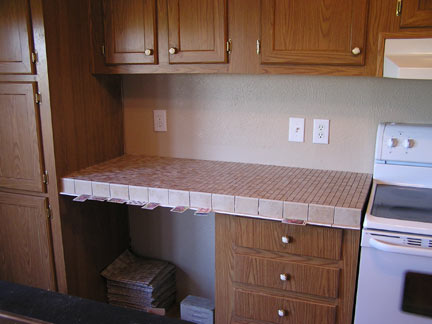
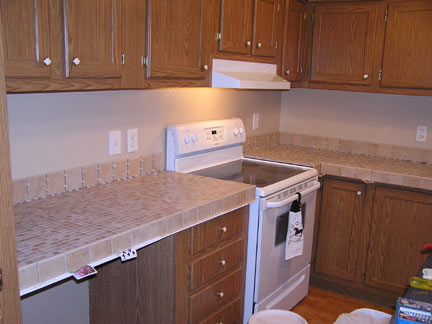
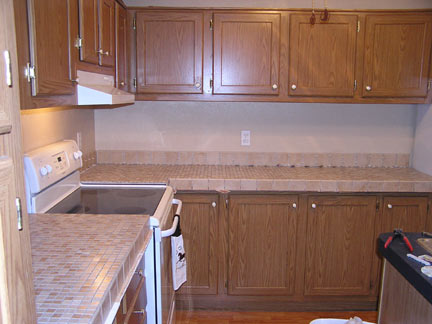
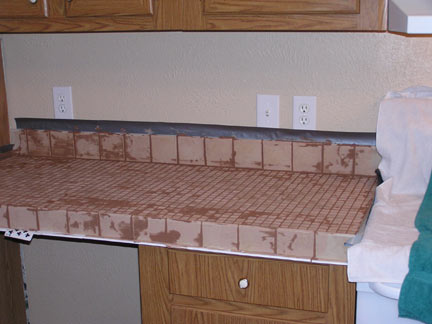
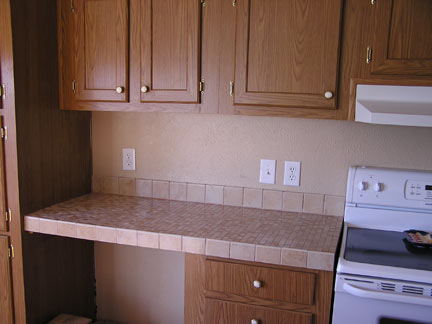
The new tile counter tops get started.
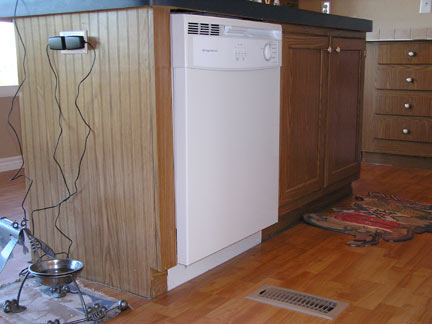
The old dishwasher failed, so a new one gets installed.
More updates to the Scrapbook room
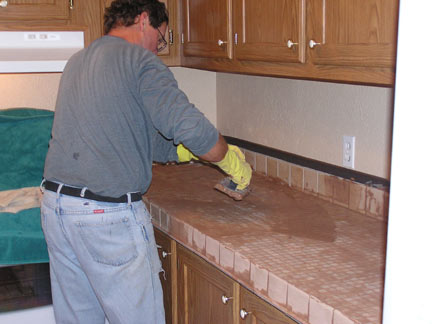
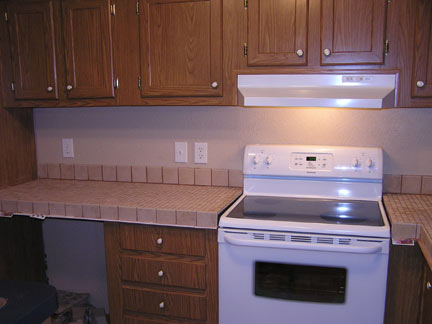
More counter tile and backsplash get laid
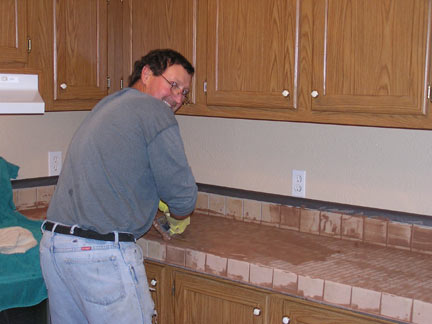
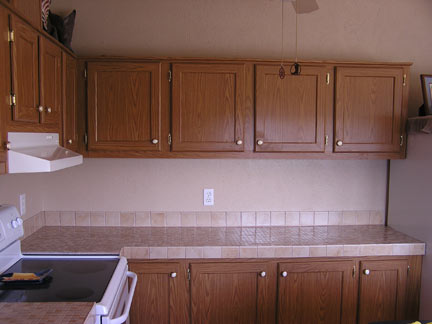
Grout going on.
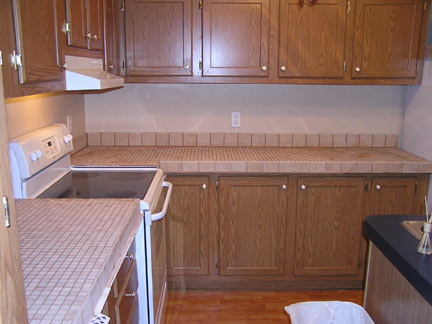
Just waiting for a little edge trim and some sealer.
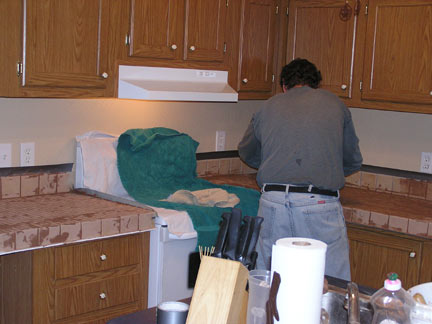
Sealer goes on
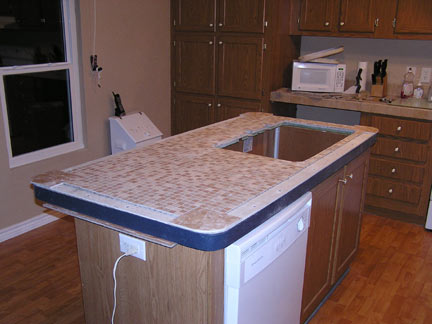
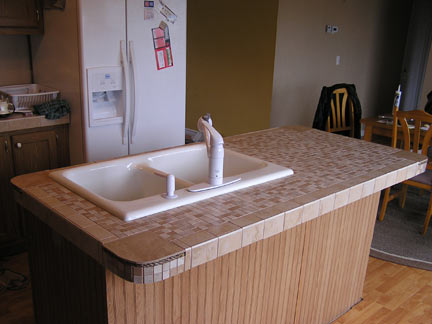
The Kitchen Island gets started.

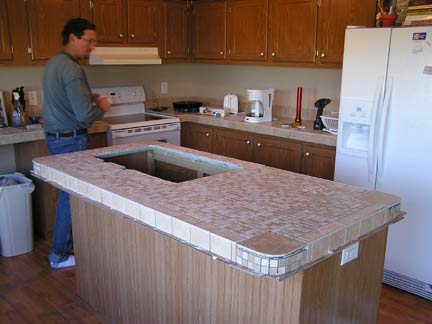
The Island tiles get glued down.
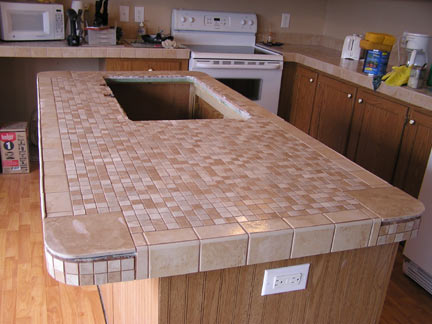
The grout goes on, waiting for sealer and some sisal rope to trim the corners
All done
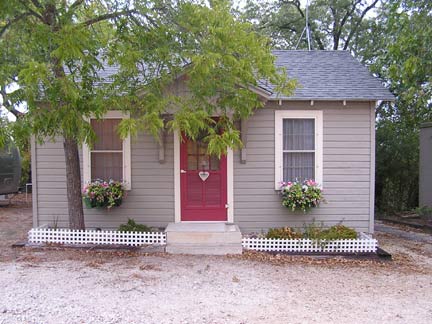
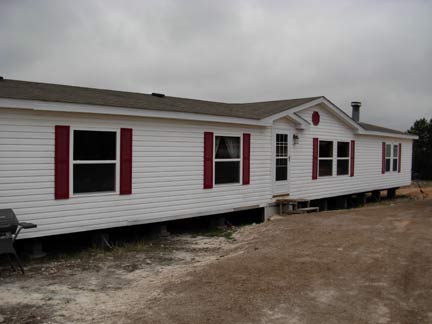
Changed the shutters to cranberry:

Changing the shed color as well:
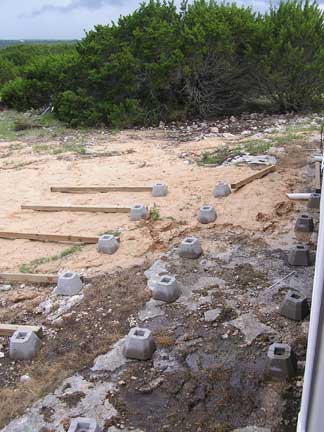
Deck Blocks sitting out there waiting to be positioned. The ones sitting on the caliche will have to be dug down to the rock because the caliche is like quicksand due to all of the rain and we couldn't set the blocks on the quicksand.
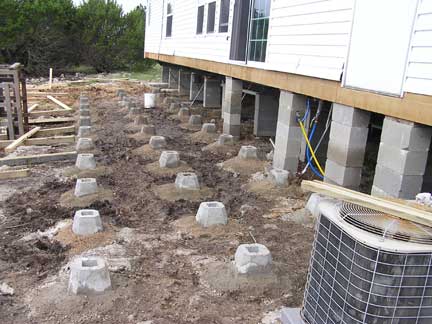
All of the deck block are now set into position and cement poured around the outside of each to keep the leveling stone from washing away. The first row of the new siding is installed as well. Tomorrow we will start putting up the posts.
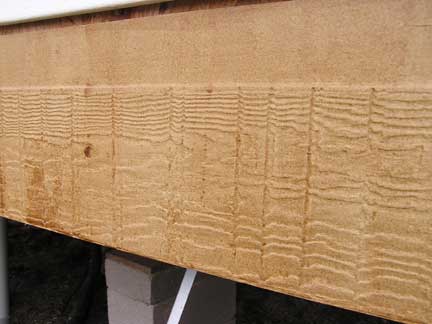
This is what the new siding for the home will look like. We chose a maple colored stain for the Hardi-plank. We needed to install the first row since it will sit behind the deck.
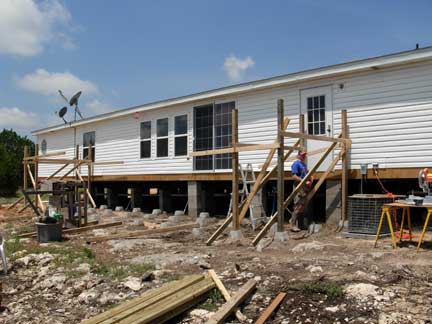
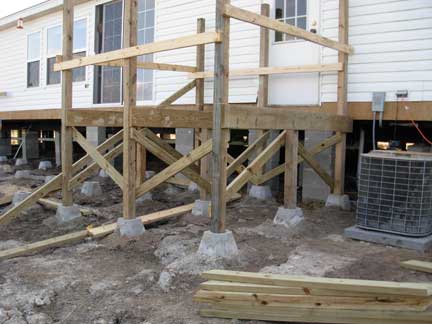

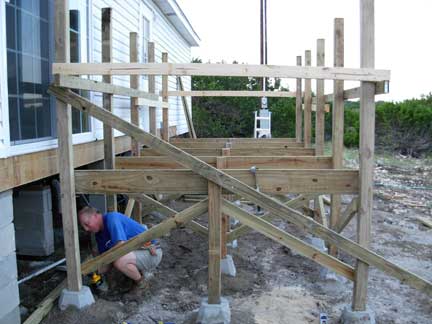
Most of the framing is complete.
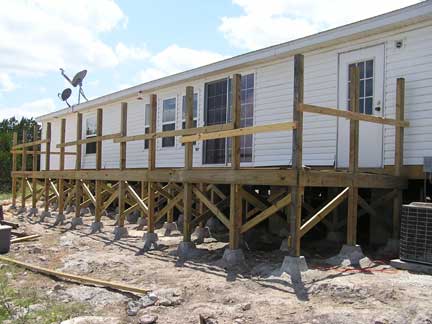
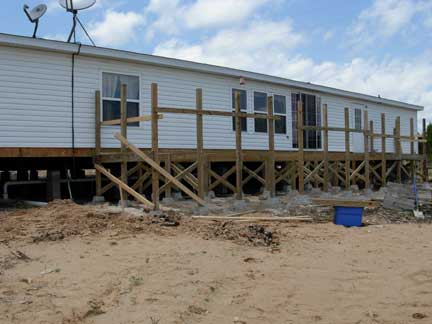
Framing is complete.
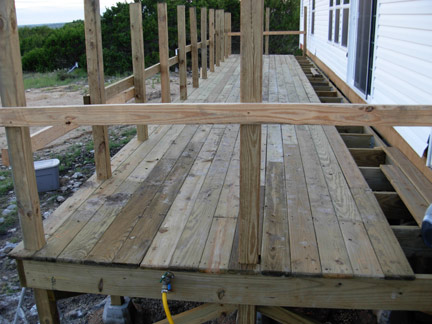
Most of the decking is laid.
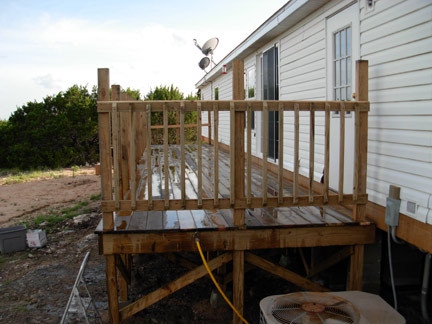
The rest of the decking gets laid and one section of railing.
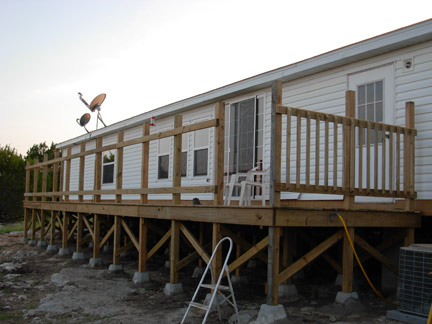
More railing gets started.
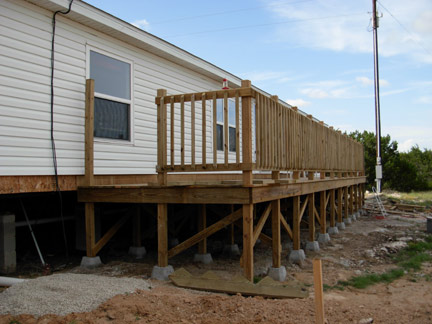
Railings get completed.
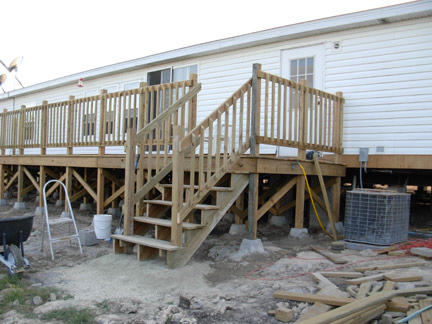
The first set of stairs get installed.